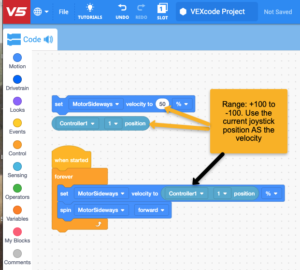
When writing code, you can end up with LOTS and LOTS of lines of code (or Blocks). The sheer volume of instructions can become overwhelming, and you can lose sight of what the program is supposed to do.
MyBlocks (and functions in Python) are the solution! They enable you to encapsulate the details of how to do something, … and give a name to that group of instruction details.
Subsequently, you can use the name of the MyBlock anywhere that you would have had to replicate all those instruction details.
If you find later inspiration – and figure out how to implement those instructions differently and better, you only need to update the MyBlock. All the places that used the MyBlock by name will invoke the newly updated code without you needing to update each place that you had used it.
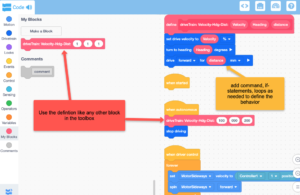
Here are a few screen captures to help illustrate the idea:
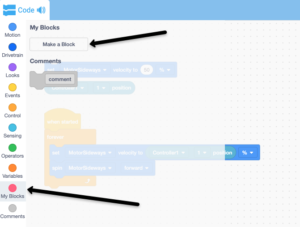
You need to click on the red “My Blocks” icon, and then the “Make a Block” button:
Then, create a meaningful name that describes the behavior that you want:
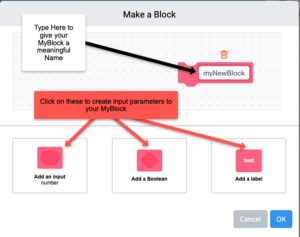
Then, add any input parameters that you want.
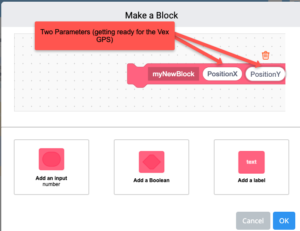
I had started out thinking about the new GPS sensor, but ended up creating/editing the MyBlock to support the drivetrain. See the yellow callout for the definition, and the red callouts for using the MyBlock.
Notice in the definition (yellow callout), I used the values coming in through the input parameters to populate the commands to the drivetrain. Those carried through parameter values are in red ovals.
I show this block in Autonomous, but the block is available for driving mode as well.
Here’s a video from Vex that explains the MyBlock in detail (you may need to login): https://codev5.vex.com/static/tutorials/v5/videos/V5_Blocks_MyBlocks_V2.mp4
